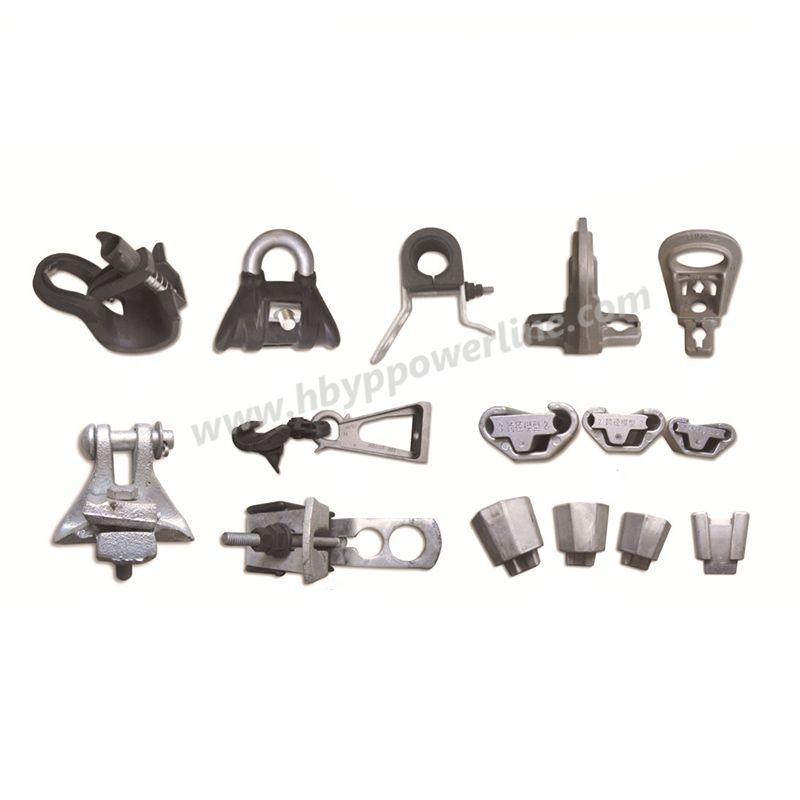
Installing a suspension clamp is a common task in various industries, including electrical and telecommunications. Suspension clamps are used to secure and support cables, wires, or other objects, typically by attaching them to a supporting structure such as a pole or tower. Here is a general guide on how to install a suspension clamp:
Materials and Tools You'll Need:
Suspension clamp
Bolts, nuts, and washers (usually provided with the clamp)
Wrenches or socket set
Appropriate safety gear (gloves, safety glasses, and a hard hat)
A ladder or suitable access equipment (if working at heights)
Installation Steps:
Safety First:
Before starting any installation work, prioritize safety. Ensure you are wearing appropriate safety gear, especially if working at heights or with heavy equipment. Make sure the installation site is free from hazards, and take necessary precautions to prevent accidents.
Choose the Right Clamp:
Confirm that you have the correct suspension clamp for your specific application. Suspension clamps come in various sizes and designs to accommodate different cable or wire types and sizes.

Inspect the Clamp:
Before installation, inspect the suspension clamp for any visible defects or damage. Make sure all the required hardware (bolts, nuts, washers) is included and in good condition.
Positioning:
Identify the location on the supporting structure (e.g., pole or tower) where you want to install the suspension clamp. Ensure it's a secure and appropriate location for the intended load.
Prepare the Cable or Wire:
If you are suspending a cable or wire, make sure it is properly prepared. It should be cut to the desired length and have any necessary attachments or connectors in place.
Attach the Clamp:
Place the suspension clamp around the cable or wire at the desired location. Ensure that the clamp is properly oriented and aligned with the supporting structure.
Secure the Clamp:
Insert the provided bolts through the holes in the suspension clamp and then through the holes in the supporting structure (e.g., pole or tower). Place washers and nuts on the other side of the bolts.
Tighten the Hardware:
Using wrenches or a socket set, tighten the nuts securely. Make sure the clamp is firmly attached to both the cable or wire and the supporting structure. Be careful not to over-tighten, which could damage the clamp or the cable.
Check Alignment:
Ensure that the suspension clamp is properly aligned and that the cable or wire is not twisted or kinked. It should be hanging freely and securely.
Inspect the Installation:
Conduct a final visual inspection of the installation to ensure everything is secure and correctly positioned. Double-check that all nuts and bolts are tight.
Load Test (If Necessary):
Depending on the application, you may need to perform a load test to ensure the suspension clamp can support the intended weight. This is particularly important for heavy cables or wires.
Documentation:
It's a good practice to document the installation, noting the location, date, and any other relevant details. This documentation can be valuable for maintenance and future reference.
Clean Up:
Remove any debris or materials from the installation site and return any unused hardware to your toolbox.
Final Inspection:
Conduct a final inspection to ensure that the suspension clamp is securely installed and that all safety measures have been followed.
Remember that the specific installation process may vary depending on the type of Suspension Clamp for Overhead Lines and the application. Always refer to the manufacturer's instructions and guidelines for the suspension clamp you are using, as they may provide specific details and requirements for proper installation. Additionally, if you are not experienced with installation tasks or if the project involves complex or high-risk installations, it's advisable to seek assistance from qualified professionals.


Comments
All Comments (0)